
Table of Contents
This comprehensive guide will help you install, set up, and customize your Plumbing Service Pro theme to create a professional and engaging website for your Plumbig Service.
Plumbing Service Pro Theme Documentation
Introduction
This kit is designed to help you create a modern, reliable, and easy-to-navigate plumbing service website. Whether you specialize in residential repairs, emergency plumbing, pipe installations, or routine maintenance, this template includes all the key features to showcase your expertise and build trust with potential clients. With clean design, service-focused sections, and contact-friendly layouts, your plumbing business will have a strong online presence that attracts inquiries and drives conversions.
Customizing Your Website
Global Settings
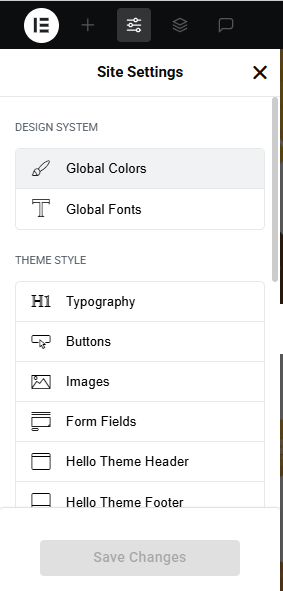
- Go to Elementor > Site Settings.
- Adjust typography, colors, and layout settings.
Header & Footer Setup
- Use Elementor Theme Builder to edit the header and footer.
- Customize the navigation menu, logo, and contact details.
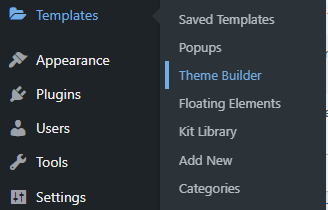

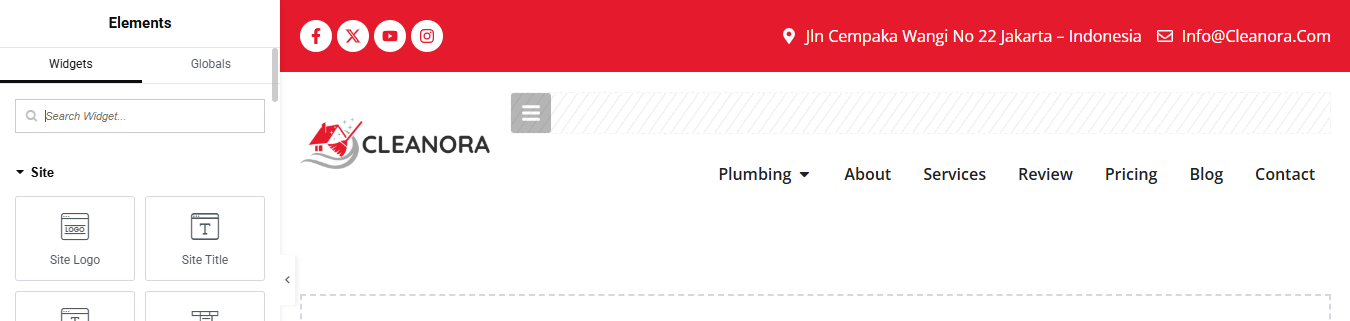
You can drag and drop the elementor widget’s menu first. If you’d like, you can add items or simply drag each one, after which you can add a icon list from the widget and apply a custom style from the style option.
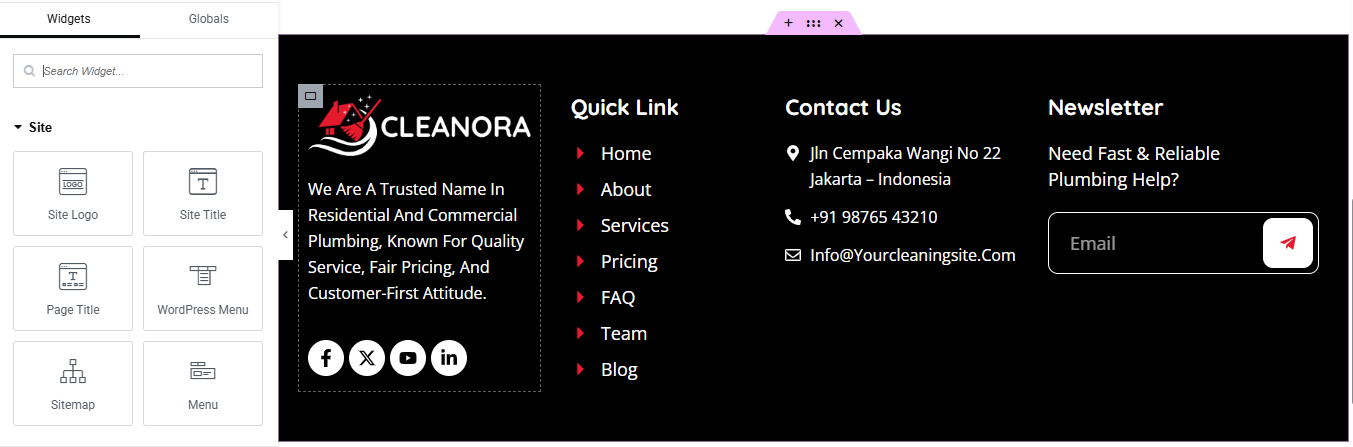
you can add newslatter form, timing, contact details, logo, menu and if you wish in footer, and create you best design.
Home Page Setup
Using Pre-Built Layouts
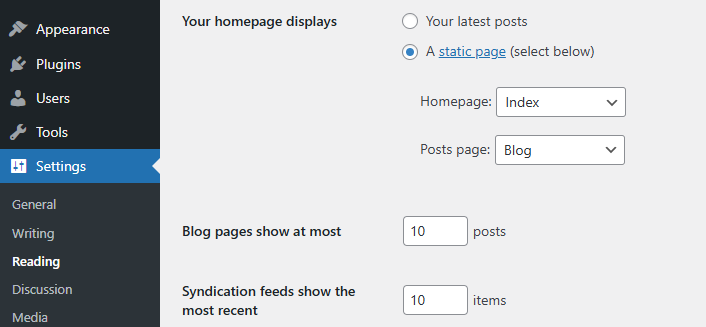
Navigate to Setting >> Reading
Choose the Static Page option.
Choose an existing homepage or create a new one.
Add The Section in home page using elementor
Add components such as these using the Drag & Drop Builder:
- Hero Section
- about section
- service section
- free estimate
- achievements section
- working step section
- CTA section
- pricing plan section
- FAQ section
- Team section
- review section
- contact section
Main Hero Section
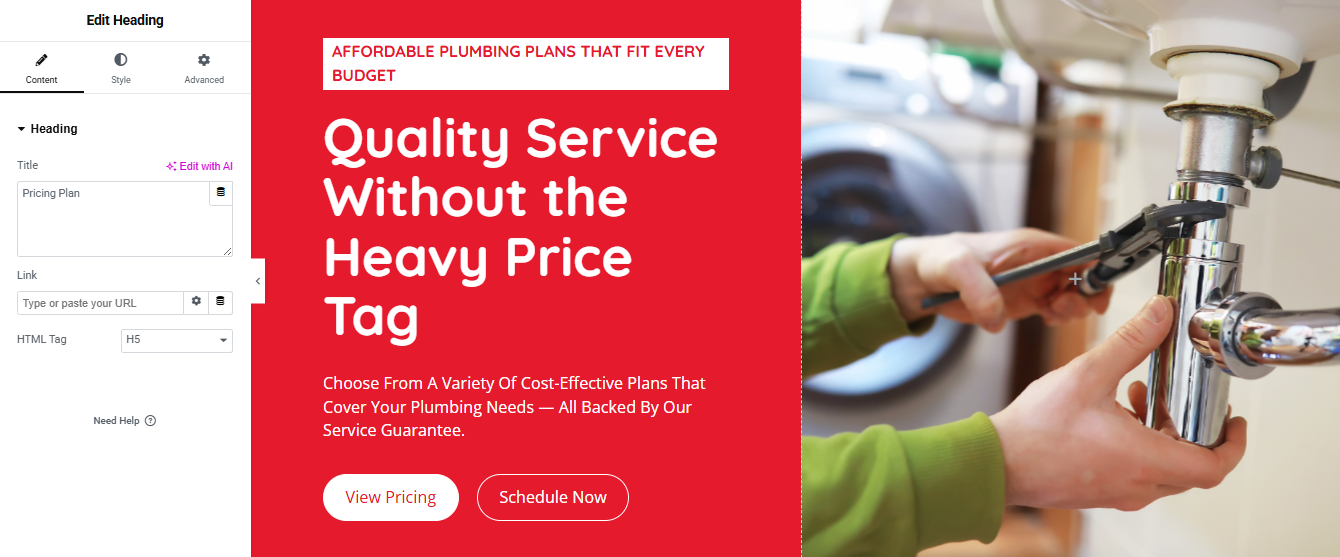
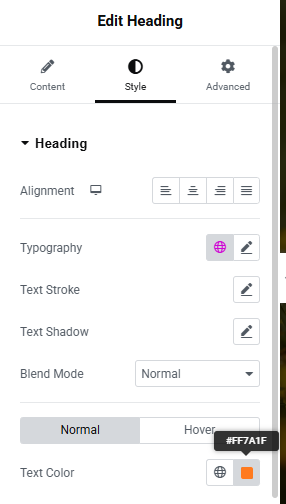
Hero Section (Left: Text + Buttons | Right: Image Carousel)
- Add a New Section: Create a two-column section.
- Left Column (Text & Buttons):
- Subtitle: Use a Heading widget.
- Title: Add another Heading widget.
- Description: Insert a Text Editor widget.
- Buttons: Place two Button widgets below the description.
Right Column (Image Carousel):
- Carousel: Use the Slides widget to add multiple images.
- Styling Tips:
- Typography: Customize fonts and sizes under the Style tab for each widget.
- Spacing: Adjust padding and margins to ensure proper alignment.
- Background: Set a background image or color for the section for added visual appeal
About section
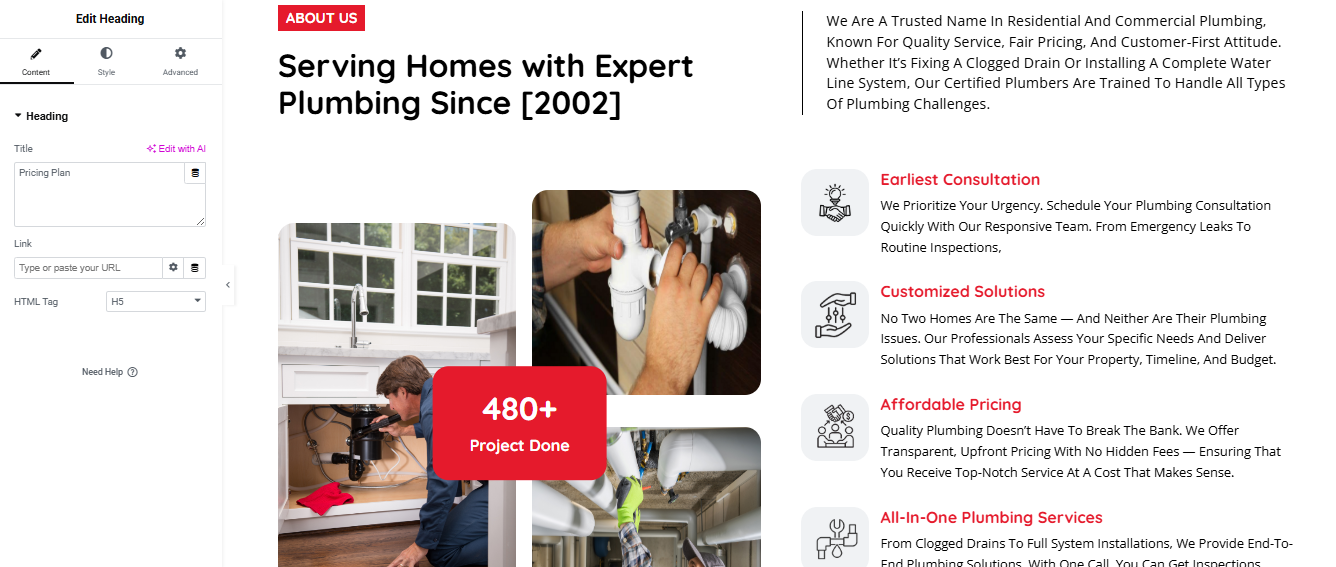
About Section (Title & Description Above | 2 Columns: Left Image, Right Icon Boxes & Button)
- Add a New Section: Insert a two-column section.
- Top: Title & Description:
- Title: Use a Heading widget.
- Description: Add a Text Editor widget.
Left Column (Image):
- Image: Insert an Image widget.
- Right Column (Icon Boxes & Button):
- Icon Boxes: Use the Icon Box widget to add features or services.
- Button: Place a Button widget below the icon boxes.
- Styling Tips:
- Alignment: Ensure content is centered or aligned as per design.
- Spacing: Adjust padding and margins for a balanced layout.
- Background: Consider a background color or image for the section.
Service Section
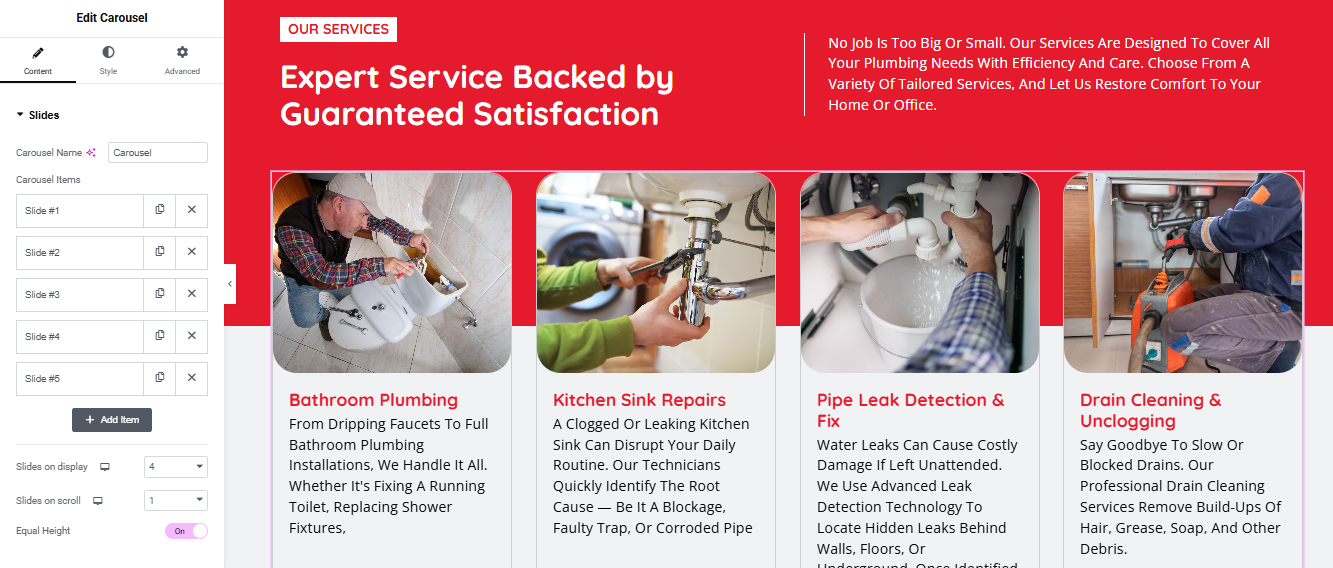
Service Section (Title & Description Above | Service Slider with Image, Title & Description)
- Add a New Section: Insert a section for the service area.
- Top: Title & Description:
- Title: Use a Heading widget.
- Description: Add a Text Editor widget.
Service Slider:
- Slider: Use the Slides widget to showcase services.
- Content: For each slide,
- add an Image widget for the service image,
- a Heading widget for the title,
- and a Text Editor widget for the description.
Styling Tips:
- Typography: Customize fonts and sizes under the Style tab for each widget.
- Spacing: Adjust padding and margins to ensure proper alignment.
- Background: Set a background image or color for the section for added visual appeal.
Free Estimate Section
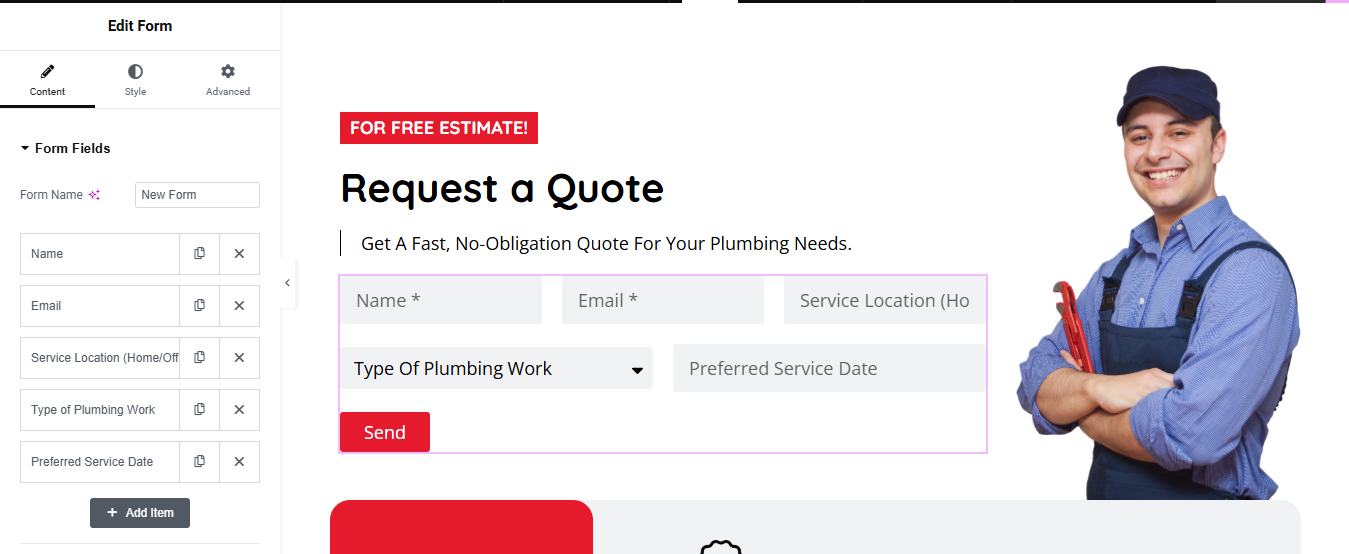
Free Estimate Form (Name, Email, Service, Location, Type of Plumbing Work, Date)
- Add a New Section: Insert a section for the form.
- Form:
- Form Widget: Use the Form widget to create the fields.
- Fields: Add fields for Name, Email, Service, Location, Type of Plumbing Work, and Date.
- Button: Include a Submit button.
Styling Tips:
- Alignment: Center-align the form.
- Spacing: Adjust padding and margins for a balanced layout.
- Background: Consider a background color or image for the section
Achievements Section
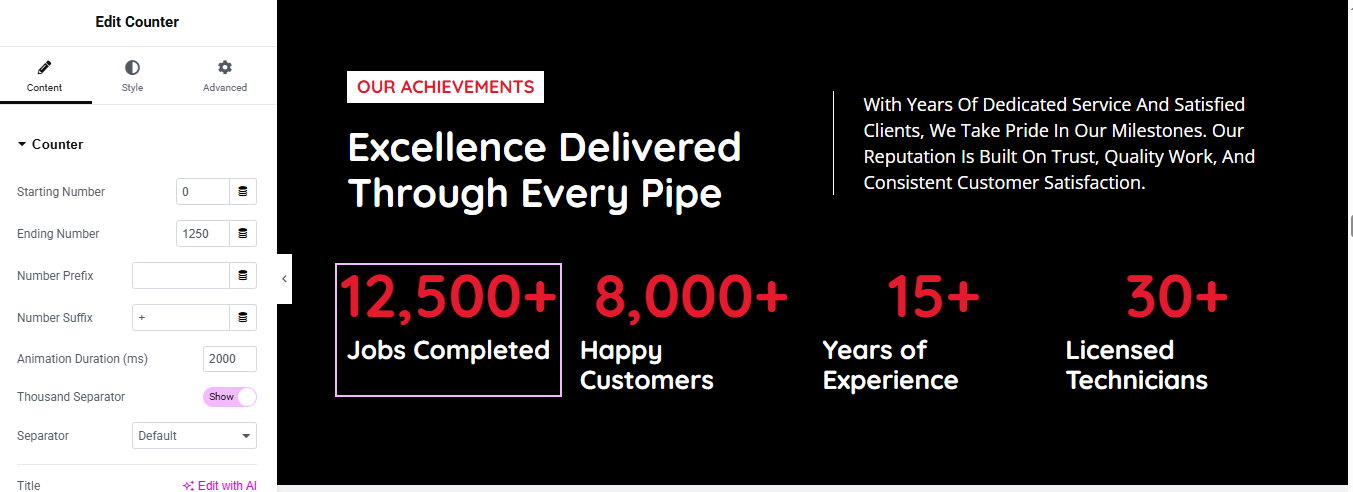
Drag in “Counter” Widgets
- In the Elementor Widgets Panel, search for Counter.
- Drag and drop one Counter widget into each column.
- Edit Each Counter
- Start Number: Usually 0
- End Number: e.g., 150, 2000, etc.
- Number Prefix/Suffix: e.g., +, %, etc.
- Title: e.g., “Happy Clients”, “Projects Completed”
Style the Counters
- Customize:
- Number Color & Typography
- Title Typography
- Spacing
- Alignment (center is most common)
Working Step
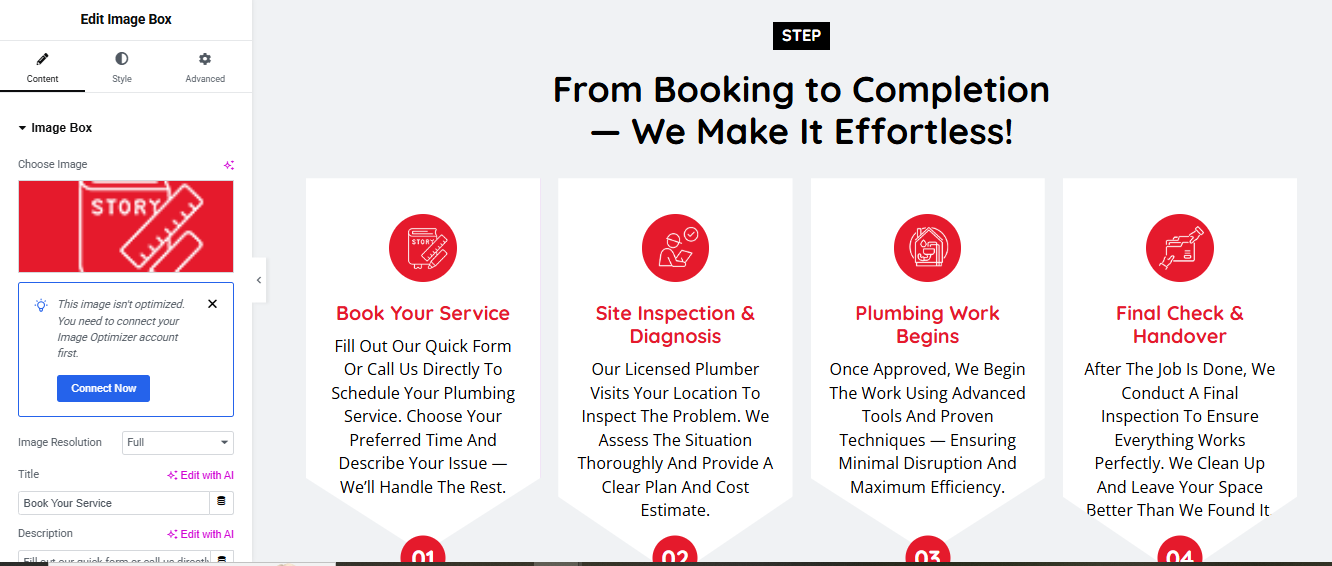
Add a New Section: Insert a section for the working steps.
- Content:
- Icon Boxes: Use the Icon Box widget to represent each step.
- Text: Add a Heading widget for the step title and a Text Editor widget for the description.
Styling Tips:
- Alignment: Ensure content is centered or aligned as per design.
- Spacing: Adjust padding and margins for a balanced layout.
- Background: Set a background image or color for the section.
CTA Section
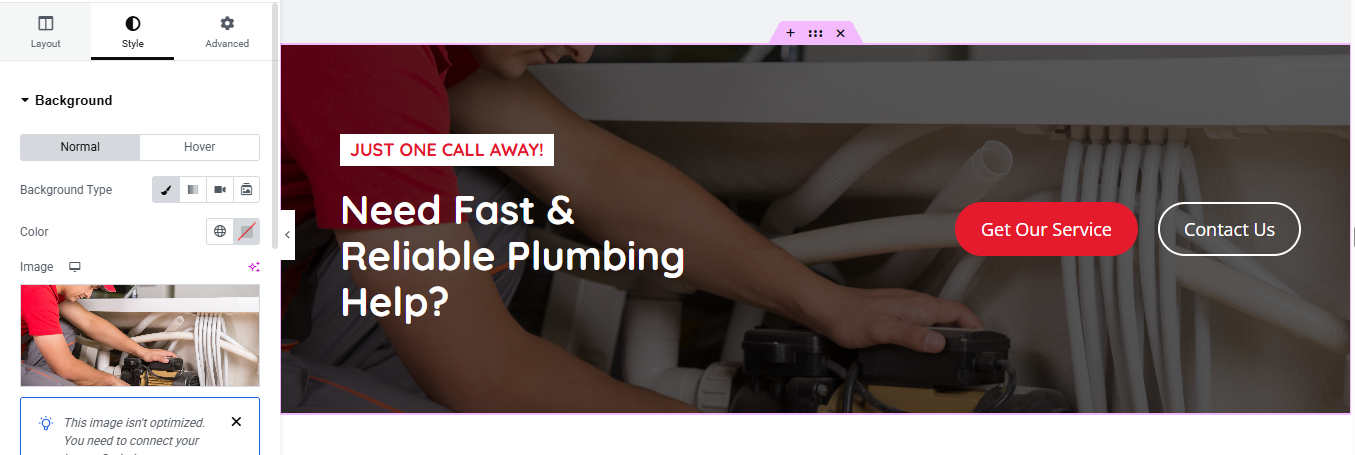
Add a New Section: Insert a section for the CTA.
- Content:
- CTA Widget: Use the Call to Action widget to create the section.
- Text: Add a compelling headline and description.
- Button: Include a Button widget for the call to action.
Styling Tips:
- Alignment: Center-align the content.
- Spacing: Adjust padding and margins for a balanced layout.
- Background: Consider a background color or image for the section.
Pricing Plan Section
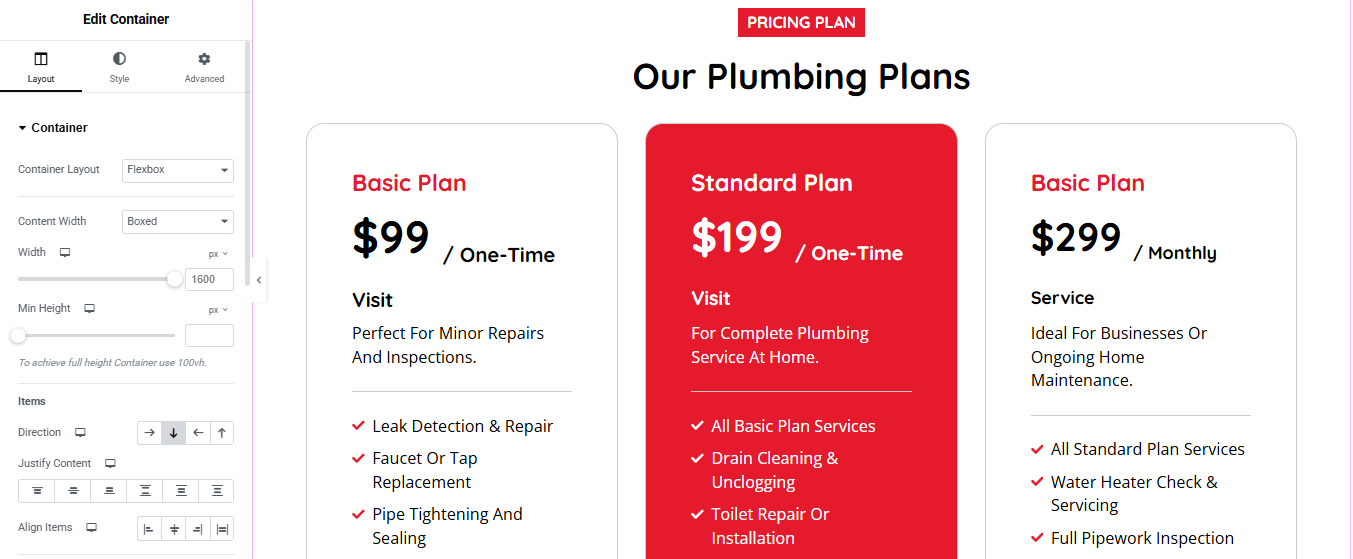
Add a New Section (3-column layout)
- Drag in “Pricing Table” or “Inner Section”
- Add content manually if free Elementor
- Each column = 1 plan
- Add:
- Title (Basic, Premium, etc.)
- Price (₹199/month)
- Feature List (✓ Feature 1, Feature 2…)
- Call-to-action Button (e.g., “Buy Now”)
Style Section
- Add hover effect, border, background color
FAQ Section
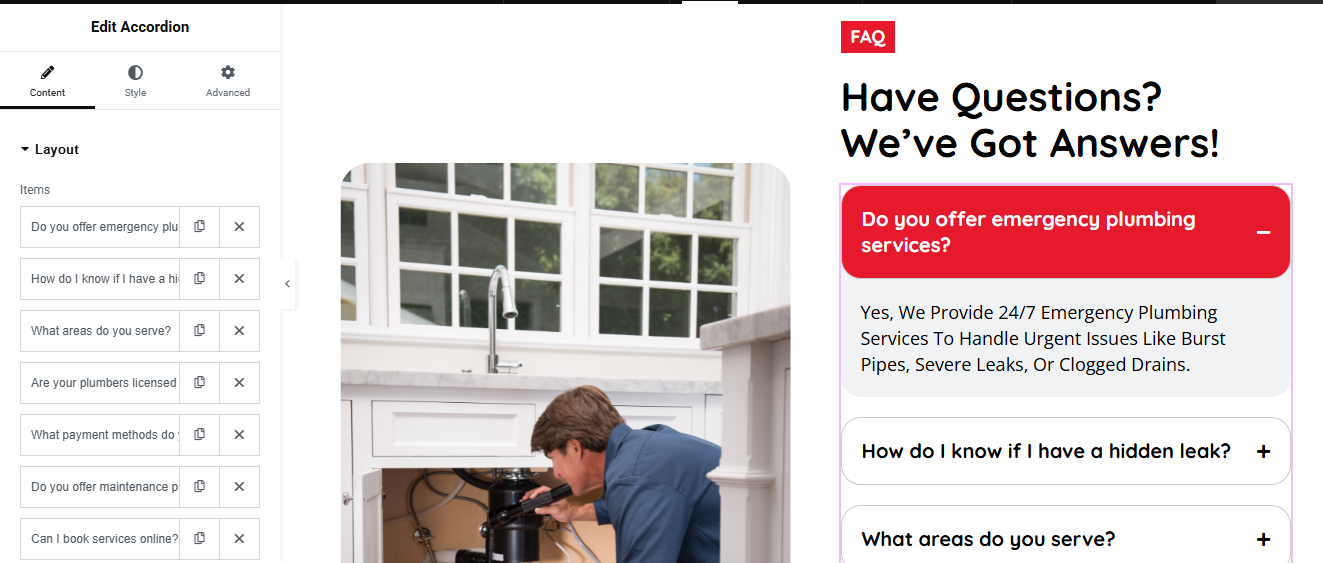
FAQ Section
- Add a New Section: Insert a section for FAQs.
Content:
- Accordion Widget: Use the Accordion widget to add questions and answers.
- Questions & Answers: Add each question and its corresponding answer.
Styling Tips:
- Alignment: Ensure content is centered or aligned as per design.
- Spacing: Adjust padding and margins for a balanced layout.
- Background: Set a background image or color for the section.
Team Section
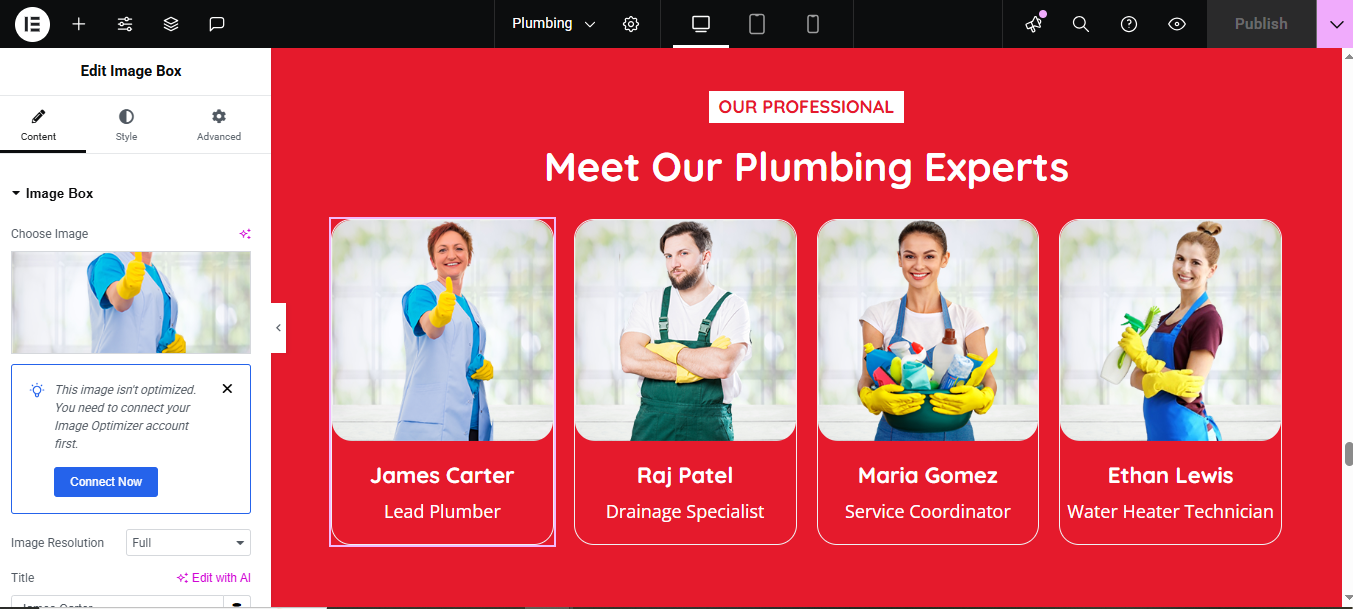
Add a New Section: Insert a section for the team.
Content:
- Team Members: Use the Team Member widget to display team members.
- Details: Add each team member’s name, position, and bio.
Styling Tips:
- Alignment: Ensure content is centered or aligned as per design.
- Spacing: Adjust padding and margins for a balanced layout.
- Background: Set a background image or color for the section.
Blog Section
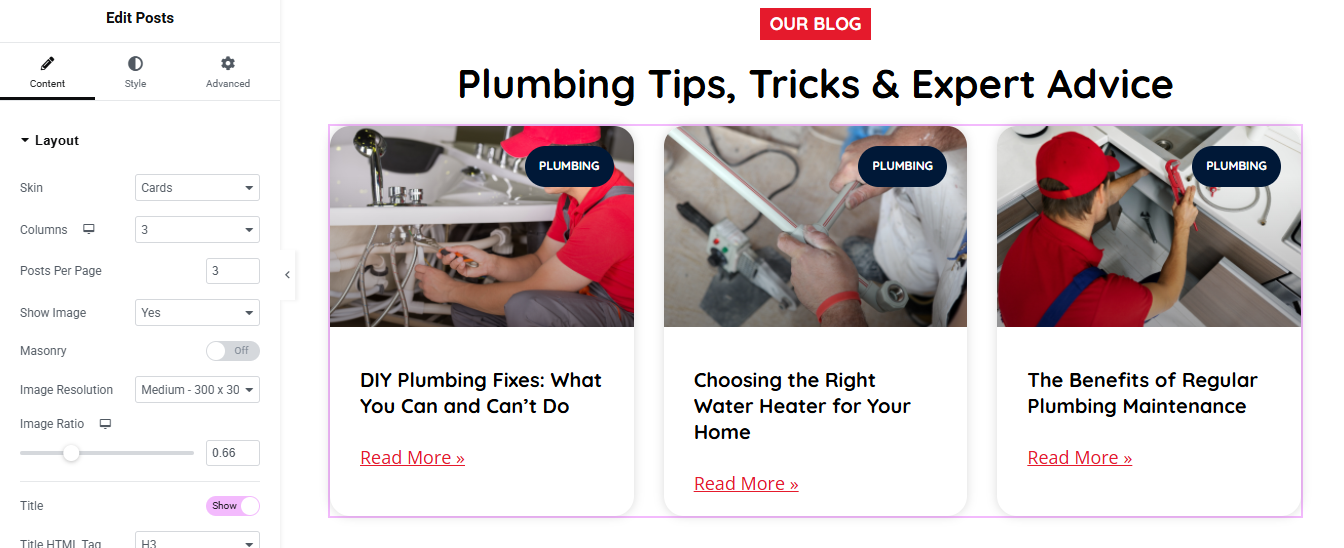
Add Posts Widget
- (Choose method based on Elementor version)
- Elementor Pro (Posts Widget)
- Drag the “Posts” widget into the section.
- Posts will automatically show your latest blog posts.
- Customize:
- Layout: Grid / Carousel / Masonry
- Columns: 2 or 3 recommended
- Show/Hide: Title, Excerpt, Author, Date, etc.
- Image Size: Thumbnail, Medium, Custom
Style the Blog Section
- Use the Style tab to customize:
- Title typography and color
- Card background or shadow
- Read More button style
- Image border radius
Optional Features
- Add Filter by Category (Pro only)
- Add Load More or Pagination
- Add Animations or Hover Effects
Review Section
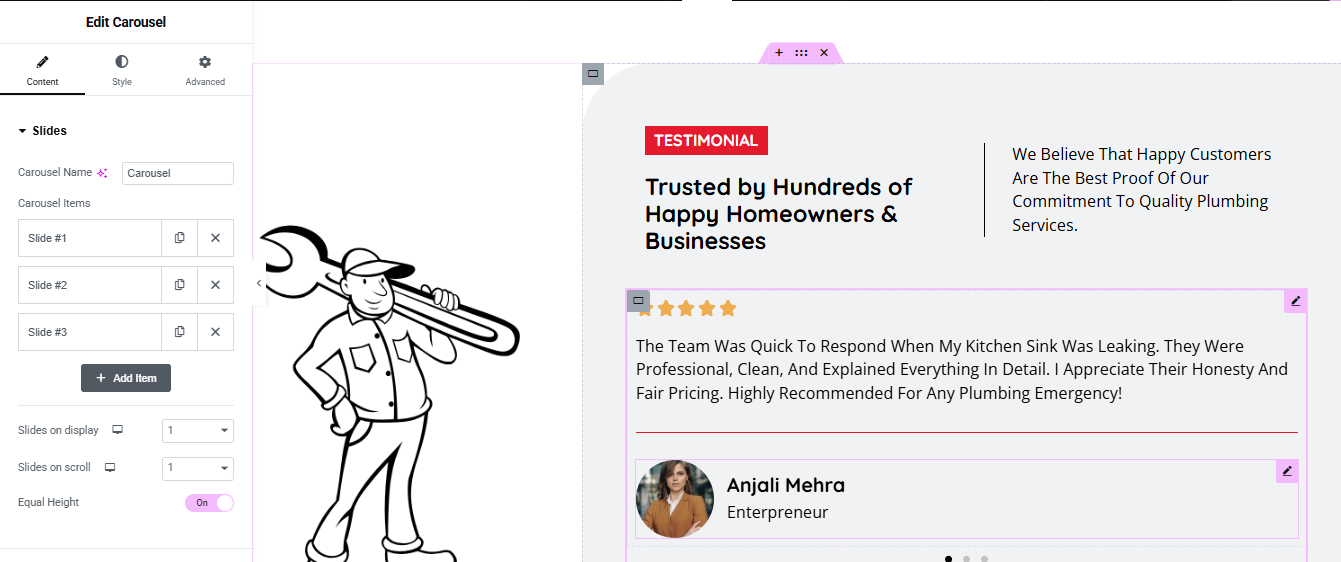
Add a New Section: Insert a section for reviews.
Content:
- Testimonials: Use the Testimonial widget to display customer reviews.
- Details: Add customer names, photos, and testimonials.
Styling Tips:
- Alignment: Ensure content is centered or aligned as per design.
- Spacing: Adjust padding and margins for a balanced layout.
- Background: set a background image or color for the section
Contact Section
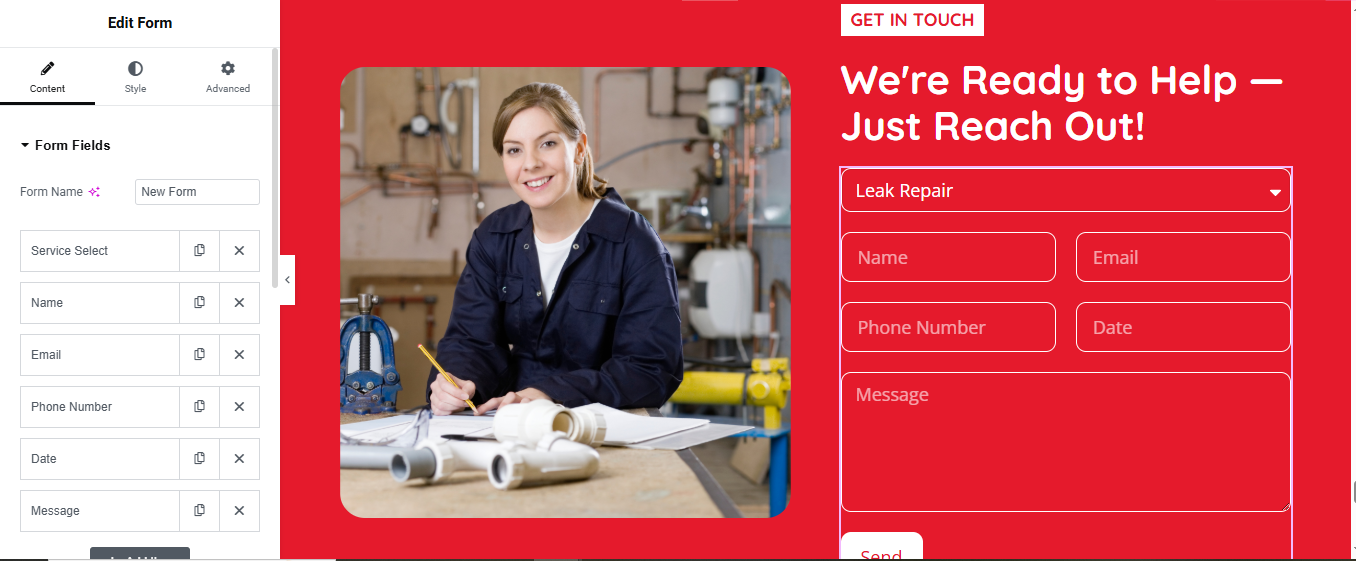
Contact Section (left image + Right form)
- Add a New Section → Choose 2-column layout (50/50 or 60/40)
- Left Column: Add image
- Drag image widget
Right Column: Add form
- Drag form widget
- add fieds
- dropdown( repair type), name, email, phone number, date and message
- go to style tab and give style for form
Make it Responsive
- In mobile mode, stack form above the map